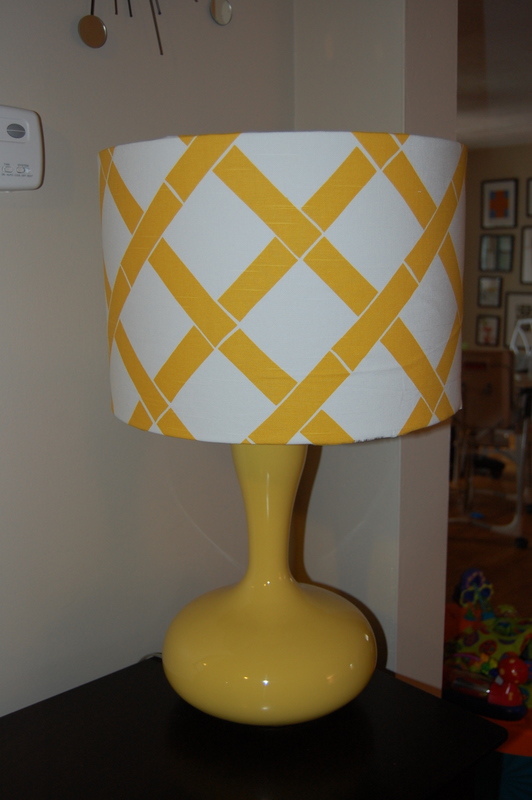
Thanks to everyone who commented so far on my Christmas Challenge so far--if you haven't yet, you can still help me raise money for charity here.
*********
I've finally finished decorating the master bedroom; the last thing I had wanted to do was change the lampshades on the bedside table lamps. Although the mismatched lamps are about the same height, the lampshades were different sizes and shapes, and one was really stained from living in the garage for a while. (I did not take a closeup of that.)

I had these two matching lampshades in my basement heap o' crap--they were previously on the lucite ball lamps on my desk, when we lived in the apartment.

Here they had not found a home, partially because they were trimmed with a greeny-turquoise ribbon that just wasn't the right color. (They weren't the right color in the apartment, either, but I never got around to returning them before we moved, so into the basement they went.)
They were the right size shade for the lamps, and they were free, so I figured I would make them work somehow. My first thought was to simply paint the turquoise ribbon navy. I got a $2 sample of paint from Home Depot and got to work.

This sucked. I did not tape it off, and I did not have the steadiest hand, and I messed it up. It also looked dull and matte. So, I ripped the painted ribbon off.
I rummaged around in my stash of ribbon and came up with a medium size navy blue grosgrain ribbon. A hot glue gun and twenty minutes later I had two navy beribboned lampshades.

I would not say that I had the steadiest hand on this endeavor either, but I did not care enough to rip it off and painstakingly try to make it even. There was an episode of The League and a chocolate cake calling my name, and I had expended all my crafting effort for the day.
Next up, my chiang mai pillows finally arrived! I'll be doing a post on the finished master bedroom soon.
*********
I've finally finished decorating the master bedroom; the last thing I had wanted to do was change the lampshades on the bedside table lamps. Although the mismatched lamps are about the same height, the lampshades were different sizes and shapes, and one was really stained from living in the garage for a while. (I did not take a closeup of that.)
I had these two matching lampshades in my basement heap o' crap--they were previously on the lucite ball lamps on my desk, when we lived in the apartment.

Here they had not found a home, partially because they were trimmed with a greeny-turquoise ribbon that just wasn't the right color. (They weren't the right color in the apartment, either, but I never got around to returning them before we moved, so into the basement they went.)
They were the right size shade for the lamps, and they were free, so I figured I would make them work somehow. My first thought was to simply paint the turquoise ribbon navy. I got a $2 sample of paint from Home Depot and got to work.

This sucked. I did not tape it off, and I did not have the steadiest hand, and I messed it up. It also looked dull and matte. So, I ripped the painted ribbon off.
I rummaged around in my stash of ribbon and came up with a medium size navy blue grosgrain ribbon. A hot glue gun and twenty minutes later I had two navy beribboned lampshades.

I would not say that I had the steadiest hand on this endeavor either, but I did not care enough to rip it off and painstakingly try to make it even. There was an episode of The League and a chocolate cake calling my name, and I had expended all my crafting effort for the day.
Next up, my chiang mai pillows finally arrived! I'll be doing a post on the finished master bedroom soon.