Showing posts with label nursery. Show all posts

Tuesday, September 27, 2011

Princess's room, mostly finished

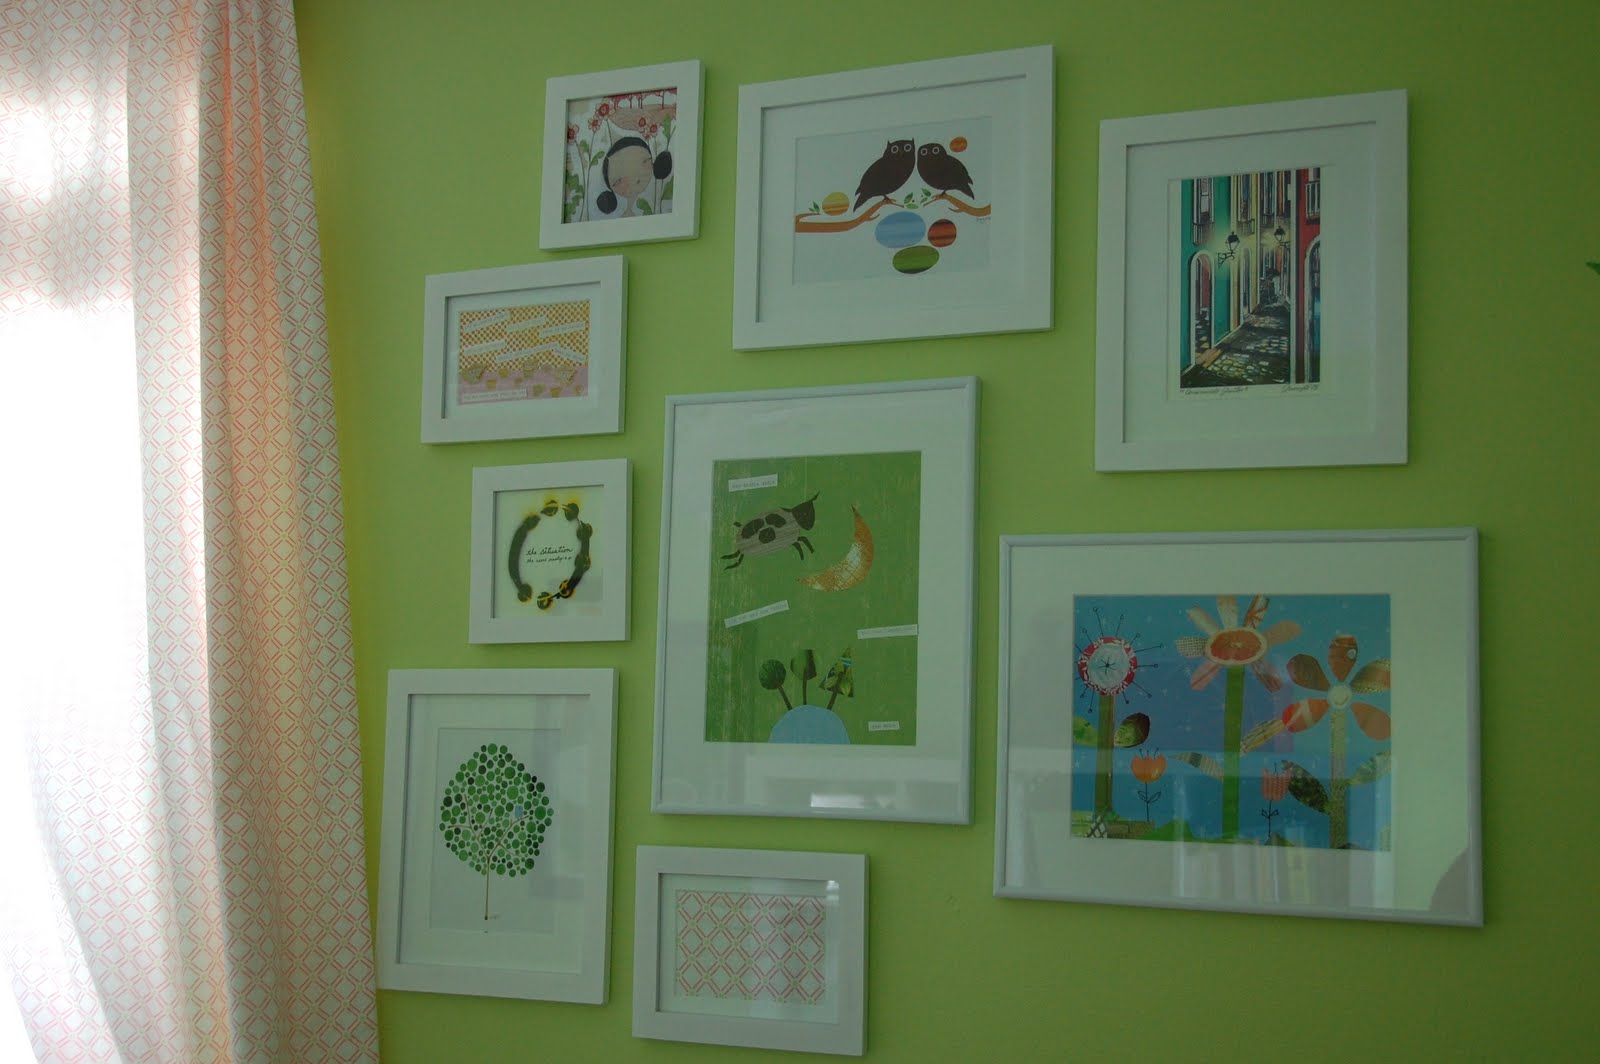
Princess's room has been 98% done for a while.  There's a few more things I'd like to do in there, but for now, here's what it looks like:


As you can see, its not a very big room.  I think its about 9x11, and it doesn't have a closet.  Luckily Princess refuses to wear dresses, so all her clothes fit in a dresser.


The inspiration for this room came from the Pottery Barn Kids drapes that I picked up earlier this year.  This print came out when I was pregnant with Peter, but since we were having a boy, I had no need for it.  Even though Princess was sharing a room with the boys in our old apartment, I bought a pair of these curtains when I discovered that PB was discontinuing the print.  Then I had to scour ebay to find another pair when it turned out the new house had two windows in her room, not just one.  I wish that I had been able to find 96 inch curtains so that I could hang them above the window molding, but maybe one day I'll get around to adding more material to the bottom.


As you can see, the light in the pictures varies dramatically.  Its been a difficult room to shoot; I've been taking pictures of it for weeks, trying to get the far wall not to be dark and underexposed.  I've finally gotten a good shot of it.


The previous tenants had a little boy in this room, which is why those sports balls are on the door...they seem to be adhered with incredibly strong glue, as I have been unable to get them off without damaging the door underneath.


The one project remaining in here is something over the crib. I have thoughts of attempting to DIY a monogram, but have been in no particular hurry to get it done.


The source list for this room:
The crib: no-name, bought from a toddler and teen place after discovering Peter's drop-side crib was a death trap
Curtains: the Emmy pattern from Pottery Barn Kids, you can still find some on Ebay
Rocker: discontinued Lullaby rocker from PB Kids
Dresser: Malm six-drawer dresser, painted with an ombre treatment of Benjamin Moore's Autumn Red mixed with Decorator White
Mirror: Homegoods
Bookshelves: Ikea Bekvam spice rack
Rug: Overstock, you can find a similar one here

You can read more about the individual projects in this room:
Mood boardDressershoe memento box and tissue poms, spice rack shelving, ribbon trimmed roller shades, matriyoshka dolls, stripe paintings, orange dresser, rug fail, curtains and paint

***********
I'm linking up to the Roomspiration party at ala mode.  Check it out, there have been some fabulous rooms in these parties so far!


Monday, June 14, 2010

My sister's nursery: Part II

More details on my sister's nursery....


The bedding is by Pixie Dust Décor, and I just fell in love with it - and they sold all the fabrics by the yard so I could coordinate the lamp shade and curtains, and any other projects I came up with. Yes, I know crib bumpers aren’t safe – but that thing is so cute, and is staying in the crib until the baby actually starts sleeping there!


Next we get to the dresser/changing table – I refinished an old dresser that I had bought for about $20 when I was in college, and somehow kept around since then. I can never have my own decorating blog, because I can’t remember how to take the before pictures for before/after pictures. It was
painted a dark brown/black. And here’s the after - I stained the frame to match the crib, and painted the drawers white and got new hardware. A changing pad on top completed it.


If you look above the dresser, you’ll see the curtains I made. I’m not much of a seamstress – in fact I hadn’t touched a sewing machine since I was in high school (about 15 years ago). But I still had said sewing machine, and figured curtains are a bunch of straight lines, I could do it. My project started with you-tubing how to thread a sewing machine. And I took the curtains from my bedroom to see how they did the lining. I used the fabric I bought from Pixie Dust for the curtains – and old bed sheets for the lining (I felt super resourceful). There’s plenty of mistakes in the curtains, but I doubt anyone coming over is inspecting the curtains for my mess-ups.


And lastly, we’re getting to the pictures I hung on the wall this weekend – how this whole post started. Technically my husband hung the pictures, not me. I gave him lots of advice that he didn’t really follow. All of the pictures were free – I either made them or downloaded them from http://indiefixx.com/Feed_your_soul/downloads.html. And one of the pictures is actually a CD cover from my husband’s old band. Hubby did a reasonably good job hanging the pictures. There’re a few extra holes in the wall, where I wasn’t really happy with the original placement – and I think the bottom frame with the curtain fabric swatch in it still needs to move to the right. But I like the overall look, I like the overall price, and I like that there’s room to add more pictures if I choose to in the future.

So there it is- the entire nursery in detail. All ready for this little girl to move into whenever she deems it worthy of her presence. (Soon please?)

my sister's nursery: Part I

My sister J is having a baby any day now. She's put together cutest nursery for my niece! She has kindly agreed to share the room and lift the heavy blogging burden from my shoulders (yes, that's right, one week of blogging and I've already got someone else doing the work).

Yay, I’m the first guest blogger! I figured I would share my nursery with you. My baby’s due date was Saturday (two days ago), and she decided she likes her current living quarters too much to move into this super cute nursery I’ve been working on for her. This weekend, since I wasn’t in labor I decided to complete the finishing touches for her room that I just hadn’t gotten around to yet – like hanging some of the pictures. (Because I’m sure it was the lack of art on the walls that was keeping in her my womb).

Here’s a picture from the hallway looking into the room. I wanted something girly, my husband wanted something not pink. The compromise – green and brown, with plenty of pink accents.

The chair was a gift from the in-laws and is made by Best Chair, and I think it is nicer than similar Pottery Barn options – a more manageable size for a smaller room, a million upholstery options, and a much easier price tag. Behind the chair is a vinyl wall art tree by Dali Decals. I have a bunch more leaves that I could add to the tree, and I still haven’t decided whether I like it as is, or if should add more leaves – opinions? The table was a $4 find at a thrift store, and I gave it a new coat of pink paint. The lamp was also a thrift store find, and I recovered the lampshade to match the bedding (see below). I’m not so sure about the lamp base which is why I took the picture from a distance. I might end up putting the shade on a new lamp base from target or something… We’ll see. The pink and green blanket on the ottoman was knitted by my super talented sister.


Moving to the other side of the room, we’ve got the expedit bookshelf from Ikea. I love these shelves. Right now we’ve got lots of empty baskets for storage that I’m sure will fill up soon once the baby is here. In the corner of the room there is an alphabet picture I made. Zoomed in here. I need to reprint on larger paper and put in the frame straight, but you get the idea (the crookedness and paper seam is really bothering me, so I should have done that this weekend but didn’t get around to it).


Basically, I found dingbats for various animals and created the whole thing in Microsoft powerpoint. Pretty easy, and I could personalize all the details, like the colors or what animals I wanted. Some of the animals we had to think really hard to come up with (V for vampire bat anyone?) or even use google (like X for xiphias). You might think the picture is just a swordfish, but really it’s a xiphias. Duh. The problem was two-fold – we first had to think up the animal that started with the strange letters – and then actually find a dingbat of that animal. The project was a couple weeks in the making, but I’m pretty happy with how it came out.

Our daughter’s room couldn’t be too childish – and we wanted to influence her musical tastes at a young age – so we already decided she should be a wilco fan. And I loved this wilco poster. We actually went to a show on this tour with friends of ours, and they ended up buying the poster and getting it framed for us after I mentioned wanting it for the nursery. Gotta love friends who pay attention to dropped hints like that!


We’re working our way around the room here – and we’ve gotten to the crib corner. The crib… oh the crib. Started out as a saga – we were offered plenty of hand-me-down cribs that I didn’t feel all that comfortable taking – for safety and aesthetic reasons. But how do you tell people that while their crib was good enough for their child, it wasn’t good enough for ours? Plus, we were not very enthusiastic about spending a ton of money on a piece of furniture that we had been offered for free many times (three different cribs to be exact). When I started looking at cribs just to see our options, I stumbled upon the Graco eco-friendly crib – which had gotten good safety ratings, was recommended by the baby best buys book, was the color we wanted, environmentally friendly, and an unbelievable price (with free shipping if you ordered from amazon) - sold.

Above the bed are some paper lanterns that my friends used for decorations at my baby shower, and I thought they were perfect to use in the nursery. On the wall, pictures of a cat and dog – again dingbats/Microsoft powerpoint creation.


Part II to follow tomorrow....