Tuesday, September 20, 2011

picture ledge gallery inspiration

I am so enamored of the shelf-style gallery, with all the art or photos leaning against the wall and layered on top of each other.  Its also a concept that can be executed in so many different styles. My gallery has a more casual vibe, with frames in every color of the rainbow. You could use the same style of black frame for a more formal look, or thrifted funky frames for a vintage vibe, and so on.

This picture of India Hicks's dining room is what started my fascination.  I love how crammed full of history the shelves are, inviting you to come closer and explore each picture.  The frames seem to be mostly black, brown and gold, which fits into the more formal dining room.


Just in case you haven't seen enough of India Hicks's dining room, here's another side view....I have not found any pictures depicting the entire room.  If you see any, let me know.


I like this room for its large, blown-up photos.  The larger scale looks simpler, and having less photos on the shelf lets you focus on each in turn.


The next two galleries are moody and monochromatic, with a modern look.


There's also the casual, collected over time look.


You can take this concept in so many different directions! Are you as enamored of this look as I am? (I'm guessing not, but I think its fabulous.) 

Sunday, September 18, 2011

dining room picture ledges revealed

If you've been reading for a while, you know that I've been in love with this picture of India Hicks's dining room forever.  We didn't have a place to put a wall of picture ledges in our last house, but here, there are two short walls on either side of the back window in the dining room.


I love the way this came out.  I bought a four large turquoise 17x14 frames from Ikea ($3.99 each) and three Ribba picture ledges ($14.99 each), but other than that, I didn't buy anything for this project.  All of the frames were previously owned, and we re-used the picture ledges that were previously used as book ledges in the kids' room of our old apartment.


 We put up five ledges on each side, 18 inches apart.  Because of the large space between each shelf, I tried to put one extra-large frame, at least 11x14, on each shelf, and fill in with more 8x10s and 5x7s.  I did not have any 17x14 pictures, however, and didn't want to spend a lot of money on expensive mats.  Instead, I put some of the kids' art in the bigger frames.  It adds some nice color and the kids love seeing their artwork displayed.

Princess loves to stand in front of the pictures and tell me who is in each picture, and she tells stories about each picture, which is the cutest thing ever.  Every few days I like to rotate some new pictures down to the bottom two shelves where she can see them.


This room is coming along nicely.  I have a few things that are still in need of paint--the china cabinet, a different chandelier, and the art for over the sideboard.  But its slowly coming together, and I love that this back wall is what I see when I sit on my sofa in the living room.


Friday, September 16, 2011

Felt Flora art

I've been looking for art for a few spaces in my house.  I feel that I have enough photos and little tchotchkes.  While I don't have a specific thing in mind, I am looking for something that has depth, dimension and texture to it.  Something with a sculptural quality to it.  Not giant cement statues, but something woven, or wooden, or layered, and can be hung on the wall.  One possibility that fulfills these requirements is these fake Cameroon juju hats I've mentioned before.

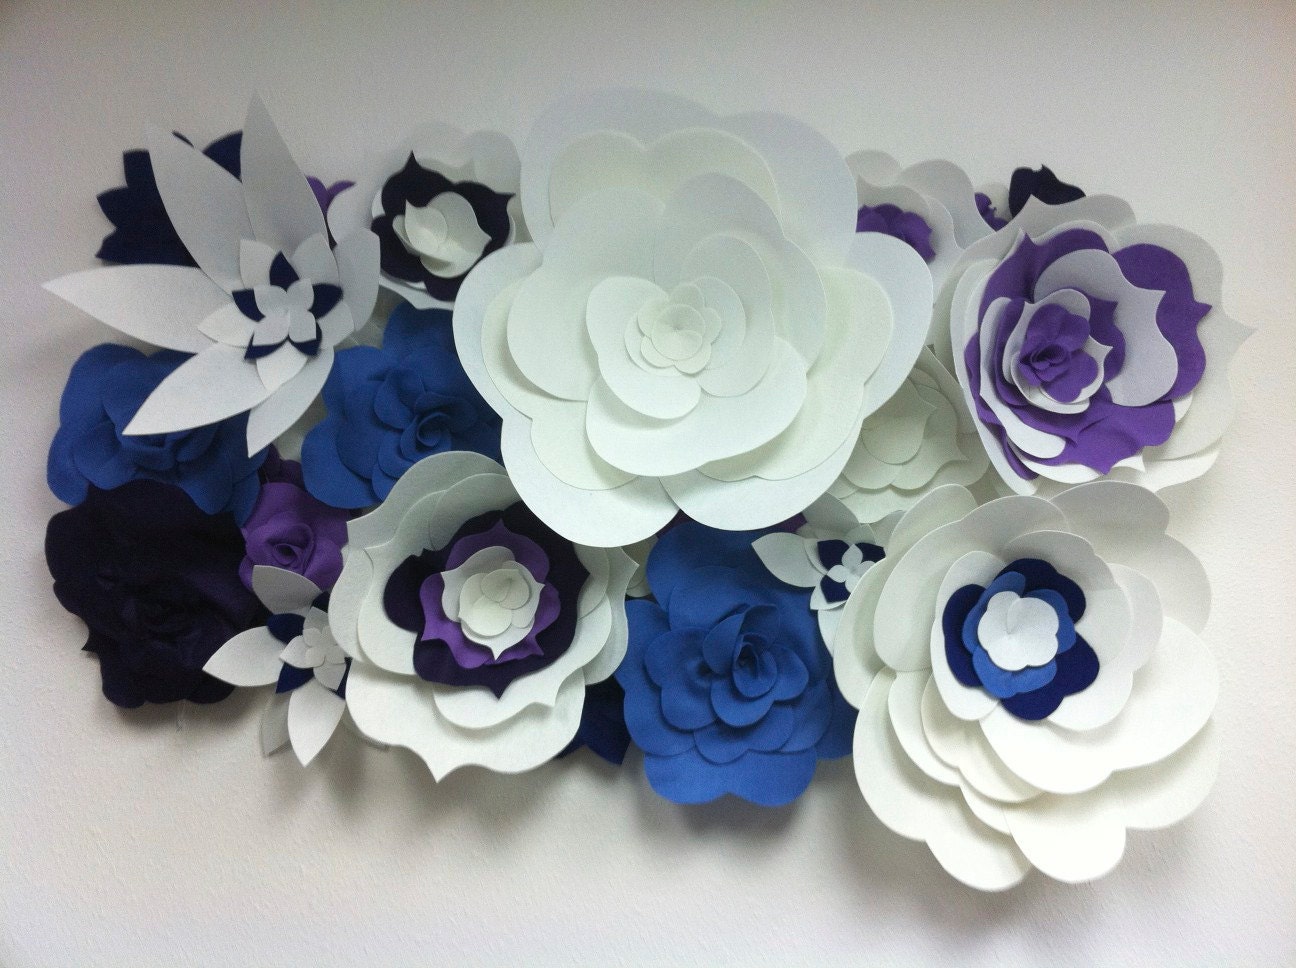
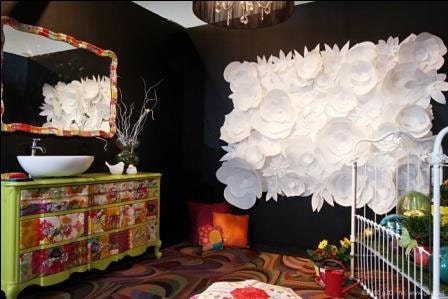
Today I was reading Kim Myles's blog (of Design Star and Myles of Style fame), and she showcased these felt floral thingamabobs sold on etsy.  I think these are SO COOL.


I'm not positive, but I think the two above are actually two panels together, as they are sold per square foot.  

There's a large number of colors to choose from, and you can put more than one together for larger installments, like this enormous one:


Neat-o, right?

Thursday, September 15, 2011

weird-size art for the dining room

I'm searching for art to hang over my sideboard in the dining room.


 The sideboard sits under a window, and the space between would be suitable for a piece that is approximately 20x40. I'd like a single, large piece of art in that space, as I feel there are lots of small collections on the first floor (especially in the dining room, which I haven't posted about yet). Twenty by forty is not exactly a common size, and I'm reluctant to invest lots of money into weird-size art that may not have a place in our next house.


I came across this picture on 20x200, and it has totally captured my imagination. Sadly, it doesn't come in the right size, and even if it did, its way out of my price range.

Think I could DIY something like this? I have learned making that attractive art is way harder than you think it should be.

Monday, September 12, 2011

first day of school, for me this time

I saw one of those inspirational sayings on Pinterest that the work you do when you are procrastinating is probably the work you should be doing for real.

I spend a fair amount of time reading design blogs, design books, and decorating my house.

Today was my first day of school at Parsons' interior design certificate course.


It was fun :-)

Forgive me if posting is a little light in the next few weeks while I get settled.

***********

I linked up my console post to Abode Love's link party.  There's some fun stuff over there, go check it out! I hope I can get some more posts of my dining room up in time for the next party.

Roomspiration


Sunday, September 11, 2011

my styled bookshelves

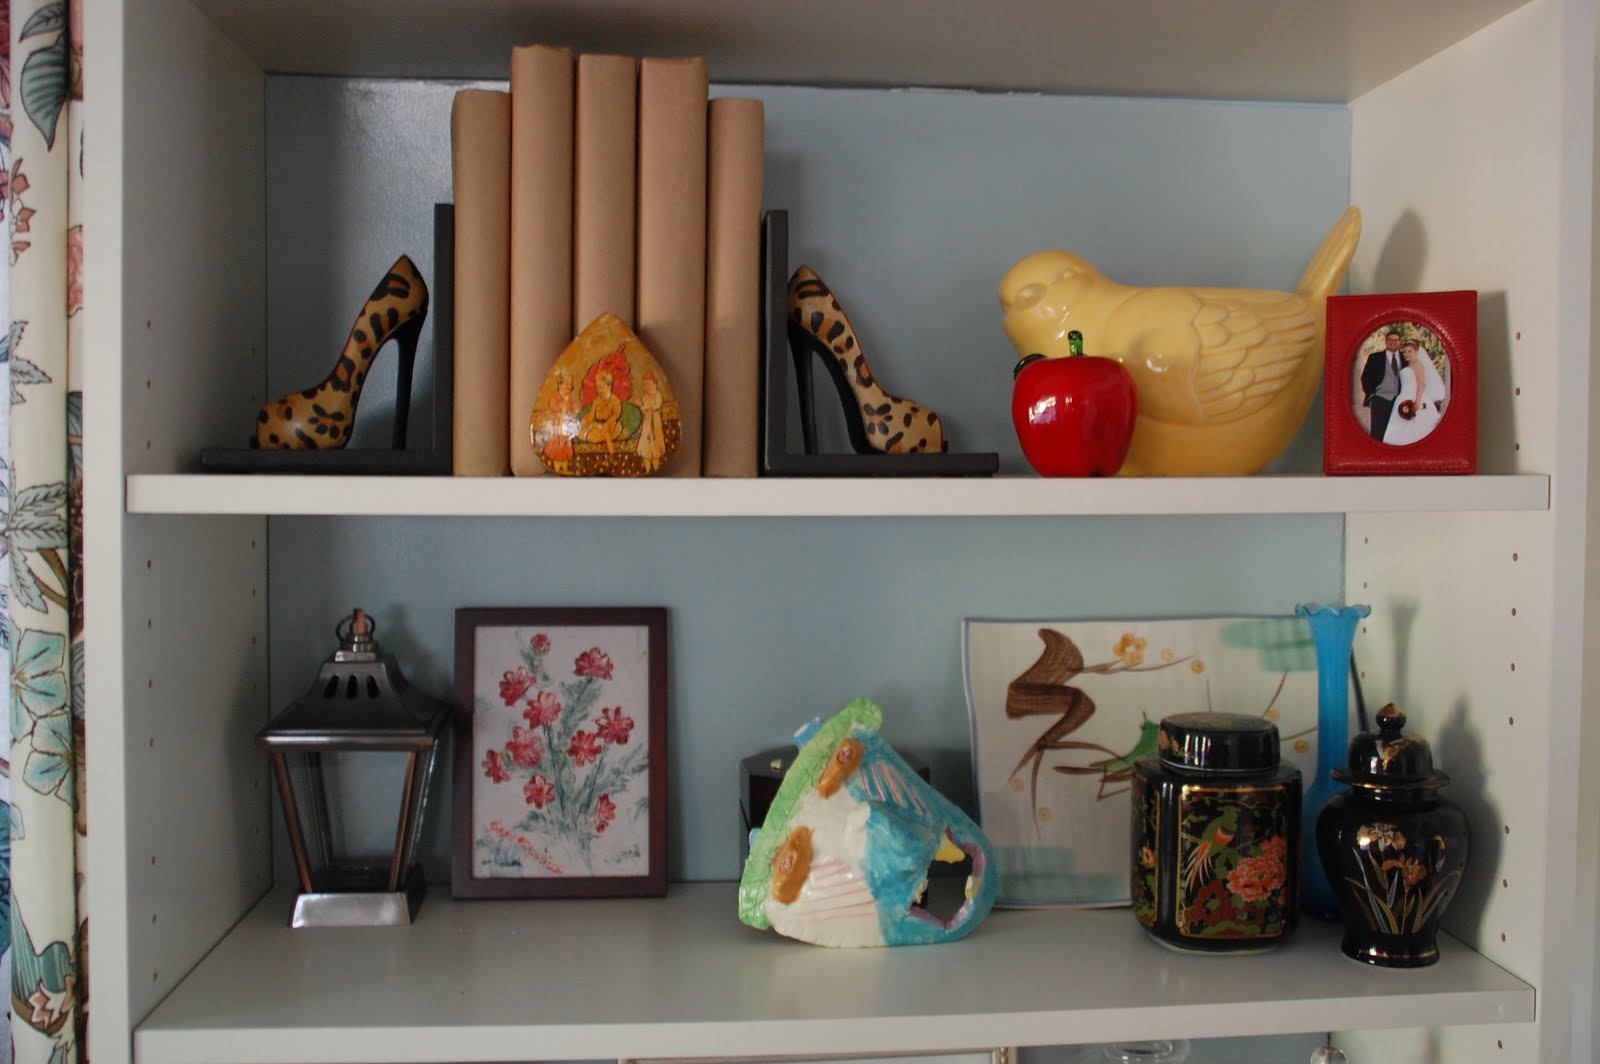
I styled our bookshelves:
 
In our last two houses, we have not had a place to put our books out on bookshelves for easy perusing. Instead, we have had one large bookshelf with doors, where each shelf was crammed two or three books deep.  Right before we decided to move, I bought two white Billy bookshelves, put them facing each other in a bump-out in the living room, and put the books so we could easily see them.  It was lovely, but then we moved.  

In this house, I put two bookshelves in our living room.  We have more books than we have space for, so I added an additional bookshelf in the basement.  I displayed some of our larger tchotchkes on the shelves among the books.  It just looked cluttered.

I knew this, but I was reluctant to get rid of the books or the tchotchkes.  I really enjoy having our books easily accessible, rather than packed in boxes in the basement.  Then it occurred to me--the ledge in the attic stairwell could hold two small Billy bookshelves.

I bought two small bookshelves and put them on the ledge, then moved half of the books upstairs.  The books I read the most I kept downstairs in the living room.  I also bought doors for the living room bookshelves.  Our frequently read books and magazines now live behind those doors.

All the tchotchkes were moved to the top three shelves.  Because the waxy cardboard back of the bookshelves does not take paint easily, I took two large pieces of foamboard, cut them to size, painted them Gossamer Blue, and put them in the back of the bookshelves behind the shelves.   Then I arranged our tchotchkes.  

All of the tchotchkes we already owned, and most of them are from friends or have a story behind them. 


I won't bore you with the stories behind every piece, except one.  The blue and white ceramic mask on the second shelf was made by my baby sister when she was in middle school.  Its looking worse for wear (it used to have ears and teeth), but it always gives me a giggle when I look at it.  That mask has been in every house I've had since my dorm room in college.  

That second shelf with my sister's mask on it is still a work in progress; the only things I really like on it at the moment are the mask and the painting.  I consider it room to grow.  New adventures will find their way onto that shelf eventually.  

Friday, September 9, 2011

new console and ceramic pieces

Our stairwell has a new console piece and I hung more art:


When we first moved in, we put the antique secretary in this spot.  Its a fairly narrow piece, so it fit fine, but even though the legs are fairly high, the piece still blocked the the return air grate it was sitting on top of.  During a heat wave we moved the piece over a few feet, but that meant that that the top of the secretary was taller than the bannister.  I really didn't like the way it looked.  

I took the top off, but then it just looked like a rather squat piece of furniture in a longer space.  The angled line of the orangy brown bannister  broken up by the short secretary did not look very harmonious.  A few weeks later I moved the secretary to the other side of the room, where it looks much better.  I searched for a long console table, and considered a number of options (here and here), but then I came across this piece on craigslist.  Its long, its fairly low, its open on the bottom over the air grate, and its just a lovely piece.  

The triangular piece of wall above the table seemed like the perfect spot for our ceramic pieces from Italy.  I cut a piece of craft paper in the shape of the triangle:

I arranged all the pieces on the floor on the template (forgot to take pictures of this step), drew around the shapes, then taped the craft paper to the wall and hammered in all the nails.  I gently ripped off the paper and then hung the pieces.


This was the piece that started our collection, and its still my favorite.  We bought it on our first trip to Italy in 2003, right before our wedding. I've bought more pieces every time we've gone, and I've asked my inlaws to bring back pieces when they go.  


Of course, as always, this area is a work in progress.  Here is what the the area looks like before I removed everything for pictures.  


The only phone jack in the house is under the table, so this is where the phone and all its attendant wires live. I need to figure out how to hide those wires.  The lampshade sustained some damage in the move, so it needs to be fixed.  The chair practically blends into the stairwell with all the brown, so it needs a fresh coat of not-brown paint and a new fabric for the seat.  

I'd also like to find a long low box with a lid for mail, since this is right inside the front door.  But I'm happy with how this space is shaping up.